🎬 How to Add B-Rolls to Your Video
Step 1: Open Your Project
- From your All Projects page, select the video where you want to add a B-roll.
Step 2: Go to the Editor
- On the Review Clip screen, choose the clip you want to edit.
- Click Edit to enter the video editor.

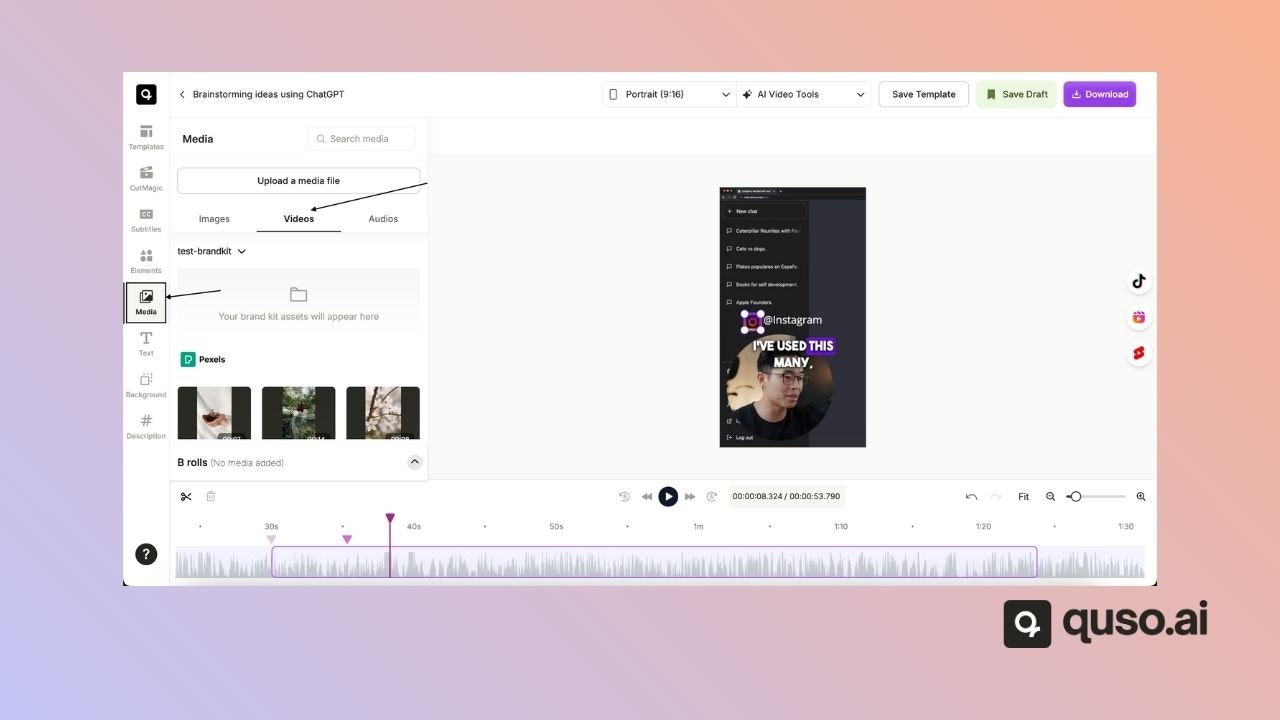
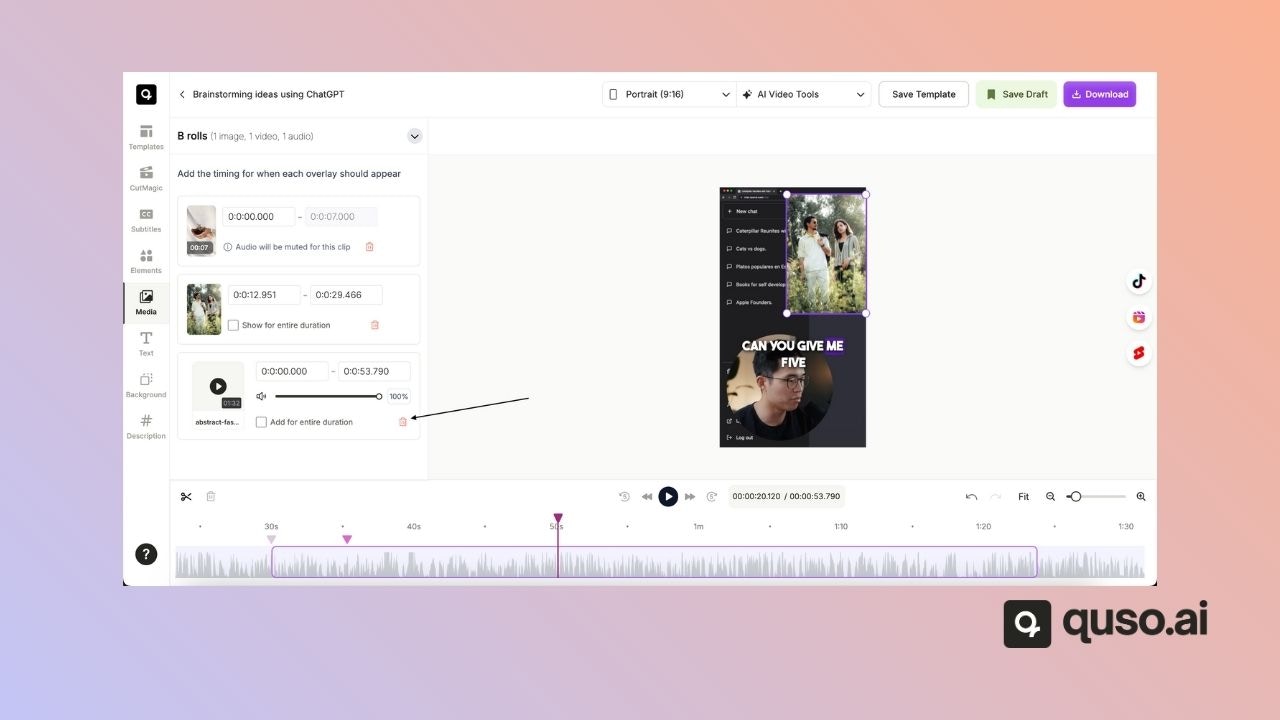
Step 3: Access the Media Tab
- In the editor, find the Media tab on the left-hand toolbar.
- Here, you can choose to add Images, Videos, or Audio.
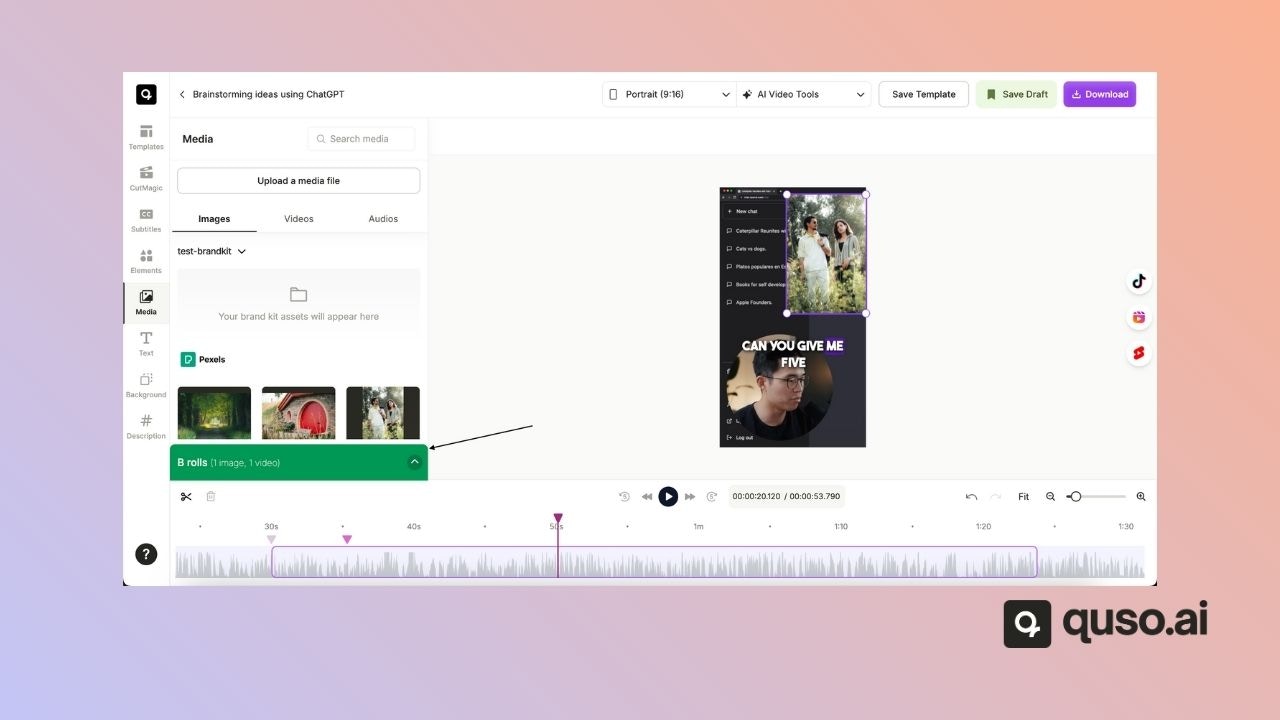
Step 4: Select or Upload Your B-Roll
You can:- Use pre-uploaded media from your library.
- Upload new files from your computer.
- Search stock footage by typing a keyword (e.g., “snow”) and pressing Enter.

Step 5: Add the B-Roll to Your Clip
- Click on your chosen file and it will be automatically added to the clip.
- For video or image B-rolls, you can adjust their position in the timeline to control when they appear.
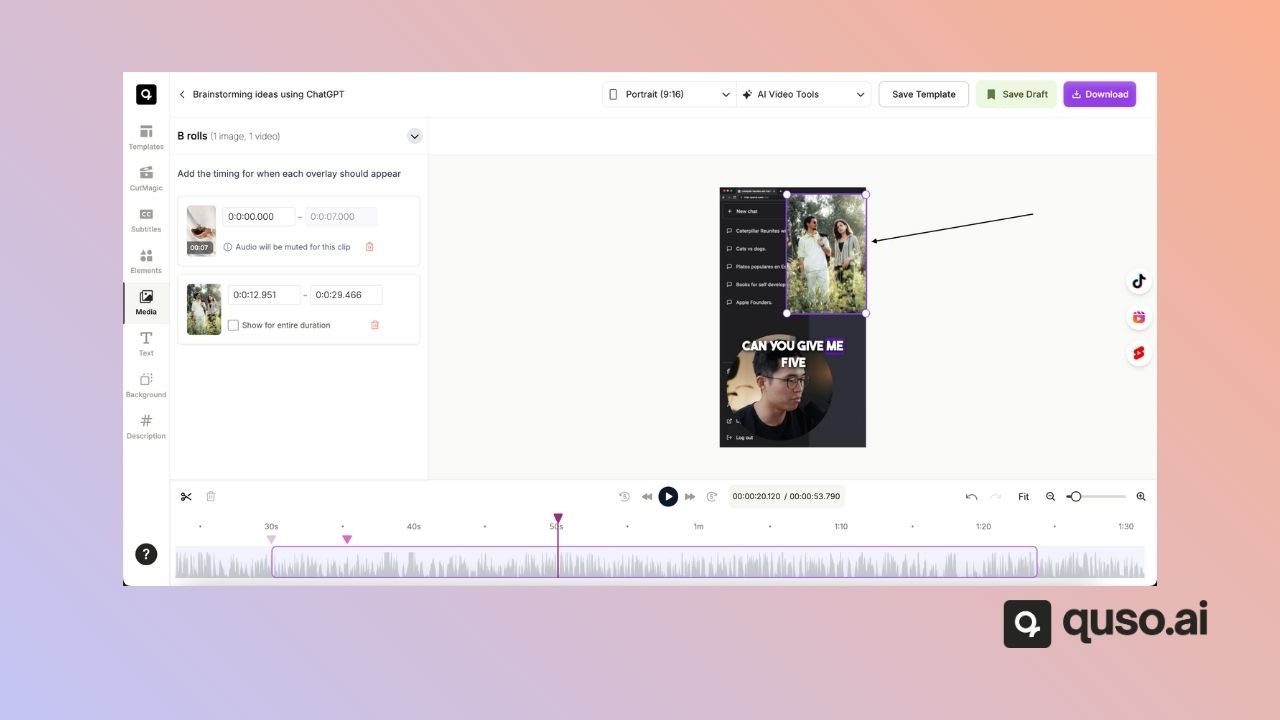
⚙️ How to Manage Your B-Rolls
Step 6: View and Adjust Timings
-
B-rolls appear as a submenu.
- Click the menu to adjust its start and end times.
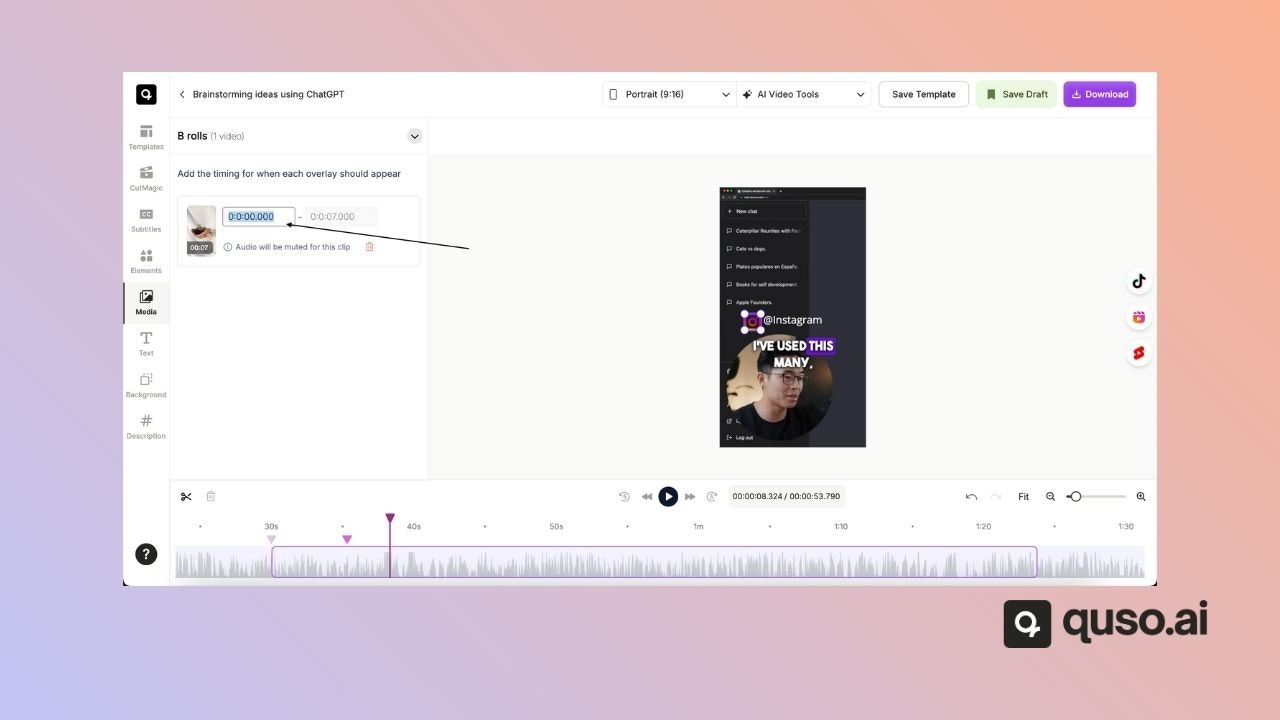
Step 7: Adjust Audio B-Rolls
- Change the volume, mute them, or set the audio to play during selected sections.

Step 8: Delete a B-Roll
- Click the bin icon to remove a B-roll instantly.
💡 Pro Tips
- Use short B-roll clips to keep your edits snappy.
- Combine B-rolls with captions and effects for more impact.
- Keep your B-rolls relevant to the main content to maintain viewer focus.