🧩 Prerequisite: Team Workspace Required
To use the Approval Flow, you must have a Team Workspace.This requires purchasing at least one Team Member seat add-on. Once you have a Team Workspace, you can send posts for approval to any email address, even if the approver is not part of your workspace or Quso.ai.
🧭 How to Send a Post for Approval
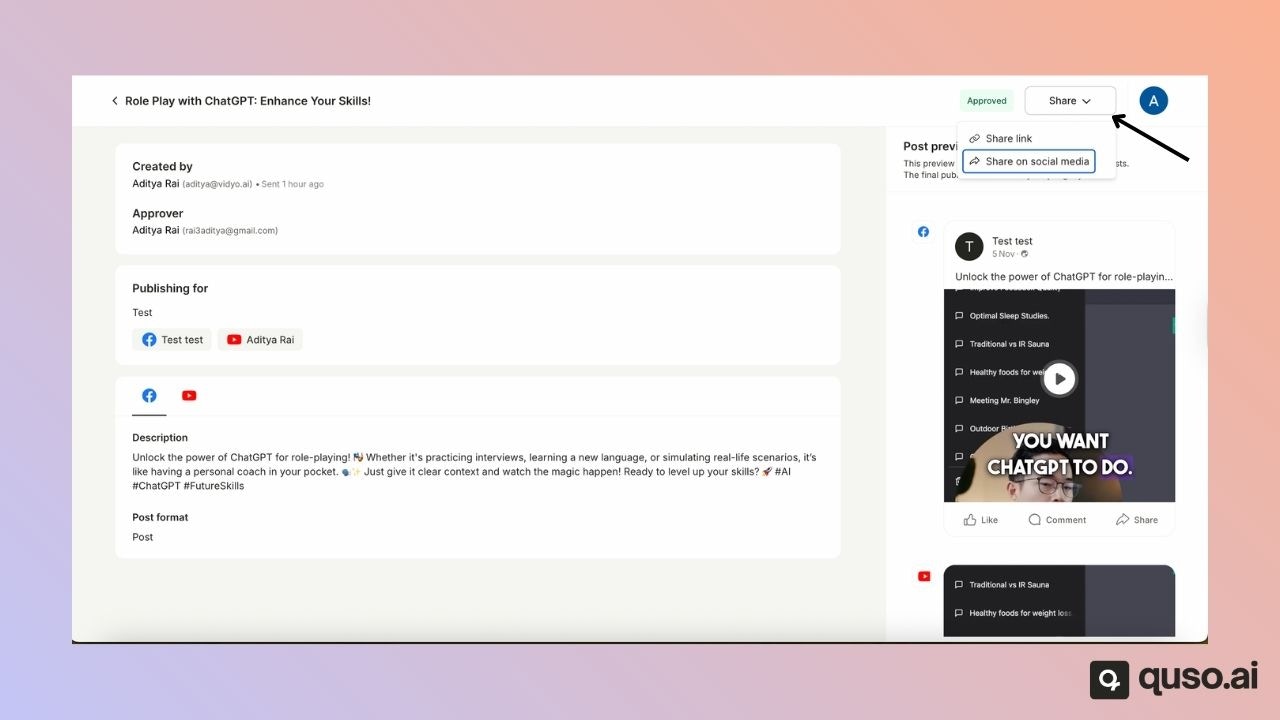
Step 1: Open the Publishing Page
- Go to the Publishing page for the post you want to send.
- Enter or generate your post description.
- Select the social media platforms you’d like to publish to.
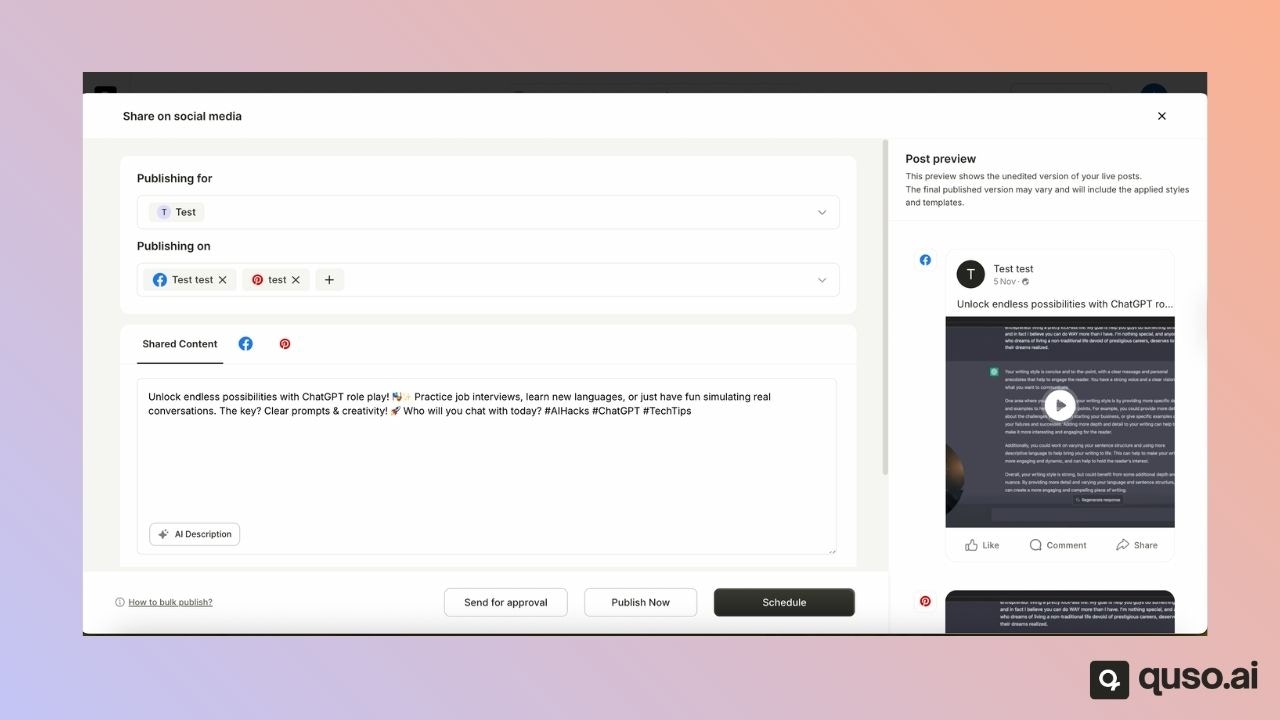
Step 2: Send for Approval
- Click the Send for Approval button.

Step 3: Choose Approval Type
While sending a post for approval, you can choose one of the following options:- Send for Approval only – Sends the post for review, and you can manually publish it once approved.
- Add Schedule time and Send for Approval – Sends the post for approval and automatically publishes it at the selected date and time once approved.
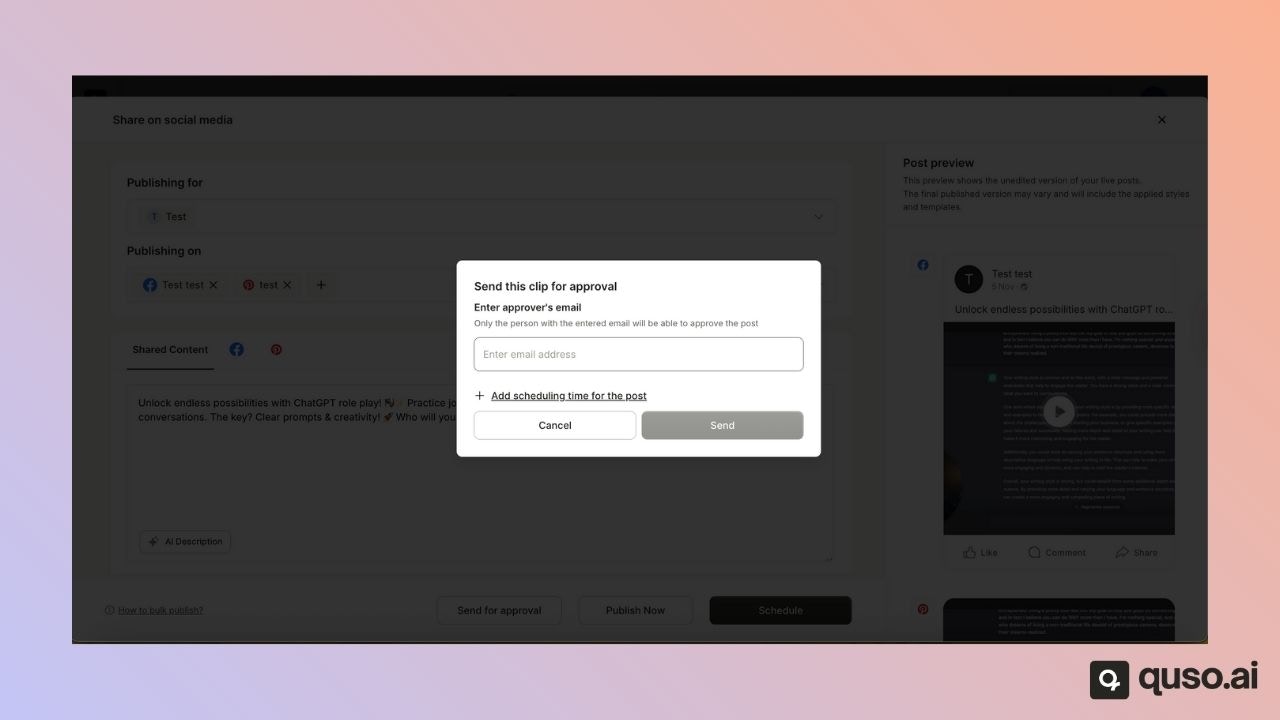
Step 4: Enter the Approver’s Email
- Enter the email address of the person who will review the post.
- The approver will receive an email with a direct link to view the post.
💡 Note: The approver does not need a quso.ai account to view the post. Anyone with the link can view it without logging in.
However, to approve the post, the approver must sign up or log in with the same email address that received the link.
✅ Approval and Publishing Flow
For Scheduled Posts:
- Once approved, the post will be automatically scheduled and published at the selected time and date.
For Regular Posts:
- These appear under the Sent for Approval tab.
- The user who created the post will need to return and publish it manually once approved.